
How To Enhance Your Eye Color With Eye Makeup
When it comes to accentuating your eye color with your eye makeup, it’s all about choosing complementary shades and using the right techniques to bring out your best features. While it may be tempting to assume for example that blue eyes mean blue tones, actually contrast is key, and for that we can look to the color wheel to find opposites to really make our eye colors pop.
“Your makeup preferences will always be down to your personal taste, so this is just a guide rather than hard and fast rules,” explains Janeena Rumsey Glo's Global Education Ambassador and Artistry Lead. “That said, there are so many ways we can really accent and bring out the tones in our eye colors with eyeshadows, mascara, and liner effects too.”
Blue Eye Makeup to Make them Pop
First up, let’s talk about blue eye makeup. “Using hues like caramel, copper, gold, peach, and even brown will really help make blue eyes pop because they’re on the opposite side of the color wheel,” shares Janeena.
Step 1: To brighten the space around blue eyes, apply a base shade from lash line to brow bone, using Eye Base Brush. This is commonly known as the lightest, matte shade in a palette.
Step 2: Using Blender Brush, add soft depth and transition with a warm, mid-toned and neutral matte shade through crease.
Step 3: Create dimension and shine with a deep warm shimmer using a copper or gold along lid, upper lashes, and lower lash line.
Step 4: For added depth, apply the darkest shade into the outer corner of lid and blend into crease using Detail Shader Brush.
Step 5: Line upper lash line as well as waterline with a warm gold or brown-toned liner or Precision Liquid Eyeliner in dark brown, to make blue eyes pop.
Step 6: Add a touch of highlight with a warm champagne shimmer shade along brow bones and inner corners.
Best Eye Makeup Products For Blue Eyes
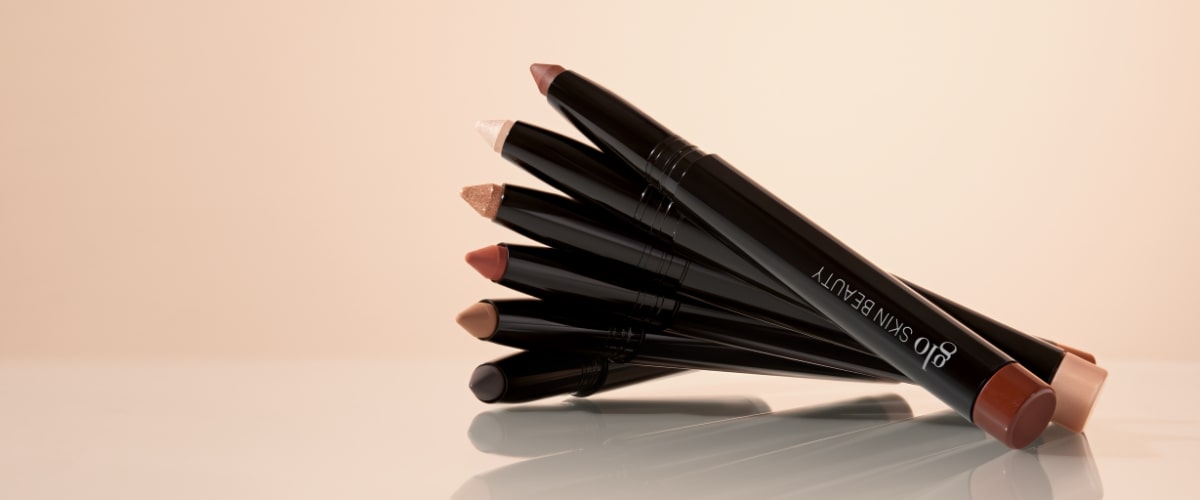
Blue eyes encompass a wide range of different hues, so our versatile and blendable Cream Stay Shadow Sticks in warm hues such as Keepsake, Solstice, or Canyon will really complement well. For cooler shades try Latte, or Echo. Mix and match to find your favorite effect for your unique eye colors.
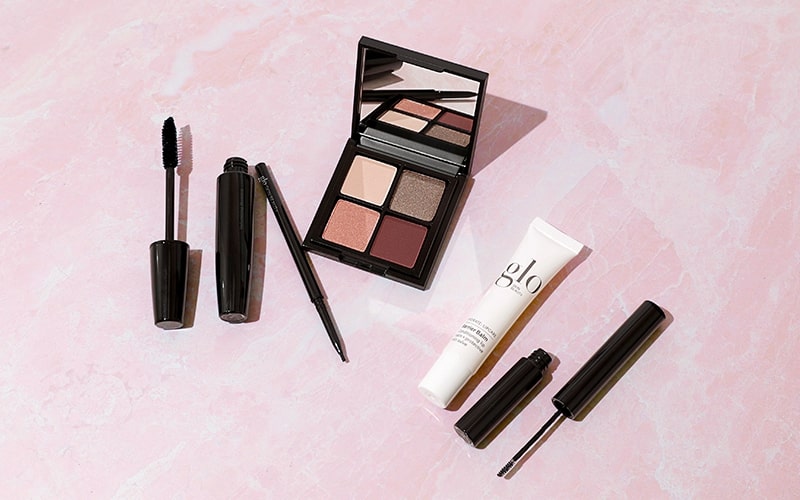
For eyeshadow quads that work for blue eyes, try Bon Voyage or Hey Sailor to really play with the different effects they offer. Or, if you’re after a wider selection of shades, you can’t go wrong with a palette in Elemental to really play.

Eye Makeup For Brown Eyes to Make them Pop
Brown eyes are actually the most versatile eye color for makeup thanks to the many tones in the brown category. “With yellows, coppers, oaks, chocolates, and even black all within the brown eye spectrum, contrast is key and you can actually have a lot of fun with brighter and bold colors,” explains Janeena. “Brown eyes look great with jewel tones like emeralds, cobalt blue, vibrant purples, even magenta, and pink. These contrasting shades accentuate deep brown eyes and pull out the natural richness in this eye color. For something more classic, I love using purples and plums for brown eyes, but they also work well on hazel eyes too.”
Step 1: To brighten the eye space, apply a base shade from lash line to brow bone. Commonly known as the lightest, matte shade in a palette.
Step 2: Add soft depth and transition with a mid-toned, neutral matte shade through crease.
Step 3: Create dimension and shine with a lilac hued shimmer on the center of lids.
Step 4: For added depth, apply a deep eggplant or plum shade along the upper and outer lower lash line then blend into the crease.
Step 5: Place a glowing highlight to inner corners and a small amount to brow bones.
Best Eye Makeup Products for Brown Eyes
“Brown eyes also look great with gold shades which pull out any of those natural honey tones found in brown, making them look lighter and like they're glowing,” adds Janeena.
To build and blend your perfect eye makeup look for brown eyes, try Cream Stay Shadow Sticks in warm hues such as Solstice, Bonbon, or Canyon. For cooler shades try Echo, Keepsake, or Shell. Mix and match to find your favorite effect for your unique eye hues.
For eyeshadow quads that work beautifully for brown eyes, try Bon Voyage or Warm Smokey Shadow Quad to really play with the different effects they offer. Or, if you’re after a wider selection of shades, you can’t go wrong with a palette in Elemental to start out and build your base eye look.
Eye Makeup For Hazel Eyes to Make them Pop
Hazel eyes can often appear brown—especially in low light, but with the right makeup, you can get those green accents to glimmer and glow. “As hazel eyes are characterized by their brown edging and green tones on the inside, you can choose to bring out the green with eggplant, mahogany, and plums or add rose golds to the mix to make the brown appear more honeyed,” explains Janeena. “Smokey eye makeup can really lift the multi-dimensional tones of hazel eyes.”
Step 1: To brighten the eye space, apply a soft matte, peach-hued base shade to lids.
Step 2: Add soft depth and transition with a warm, mid-toned and neutral matte shade through crease.
Step 3: Create dimension and shine with a metallic gold shimmer on lids and inner corners.
Step 4: Add a fun pop of deep emerald or teal into outer corners and along lash line then lightly blend into crease.
Step 5: Line waterline with a warm bronze or brown to make hazel eyes pop.
Step 6: For more definition and drama, line eyes with liquid black liner or a smudgy pencil in dark brown or black.
Best Eyeshadow for Hazel Eyes
“With their magical green flecks, hazel eyes can often look different colors depending on the time of day and the weather,” shares Janeena. “Finding a look that works for the season and the lighting can be a lot of fun.”
To build and blend your perfect eye makeup look for hazel eyes, try Cream Stay Shadow Sticks in warm hues such as Solstice or Canyon. For cooler shades try Beam, Latte, or Keepsake. Mix and match to find your favorite effect for your unique eye hues.
For eyeshadow quads that work beautifully for hazel eyes, try Bon Voyage, Rebel Angel, or Northern Lights to really play with the different effects they offer. When in doubt you can’t go wrong with the Elementalpalette to really play.
Green Eye Makeup to Make them Pop
“Green eyes are often so vivid, they don’t need too much vibrancy to really make them pop,” shares Janeena, “With red as the opposite of green in the color wheel, pinks, terracottas, and brick-hues look great with green eyes, as do plum and burgundy.”
Step 1: To brighten the eye space, apply a base shade from lash line to brow bone. Commonly known as the lightest, matte shade in a palette.
Step 2: Add soft depth and transition with a warm, mid-toned and neutral matte shade through crease.
Step 3: Place a bronzed shimmer shade onto the center of lids to create dimension and shine.
Step 4: Deepen the look by adding a mahogany or burgundy hued shade to the outer corners, along upper and lower lashline, then blend into crease.
Step 5: Fill the waterline with a deep plum, burgundy or dark brown liner.
Step 6: Add a warm, champagne shimmered highlight to center lids, inner corners and a bit to brow bones to make green eyes pop.
Best Eyeshadow For Green Eyes
To build and blend your perfect eye makeup look for green eyes, try Cream Stay Shadow Sticks in warm hues such asSolstice, or Bonbon. For cooler shades try Beam, Latte, Luna or Keepsake. Mix and match to find your favorite effect for your unique eye hues.
For eyeshadow quads that work beautifully for green eyes, try Bon Voyage or Cool Glow to really play with the different effects they offer.
And remember, while the makeup color wheel is a great place to start, you can try any of these looks regardless of your eye color. Eye makeup is always down to personal preference and technique so have fun and try mixing it up color-wise to find a variety of effects to suit all eye colors.
And remember, while the makeup color wheel is a great place to start, you can try any of these looks regardless of your eye color. Eye makeup is always down to personal preference and technique so have fun and try mixing it up color-wise to find a variety of effects to suit all eye colors.
Trending
Related Posts
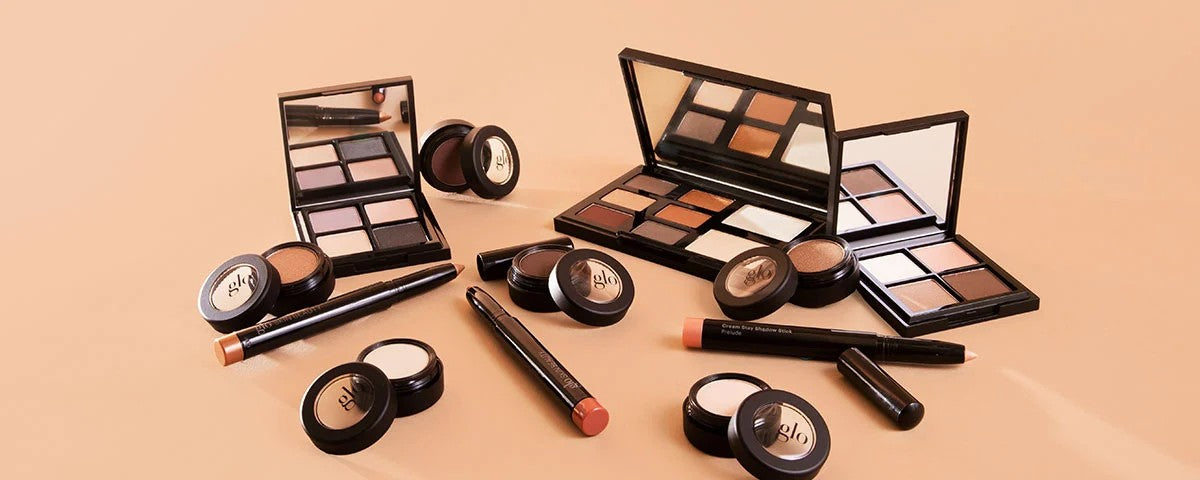
Do you find yourself wishing you could apply the perfect eyeshadow look? Perhaps you find single shadow application a breeze but struggle with layered techniques? Or maybe you want to brush up on your eye makeup artistry skills generally. If any of this rings true, then this guide on how to apply eyeshadow like a pro is for you.
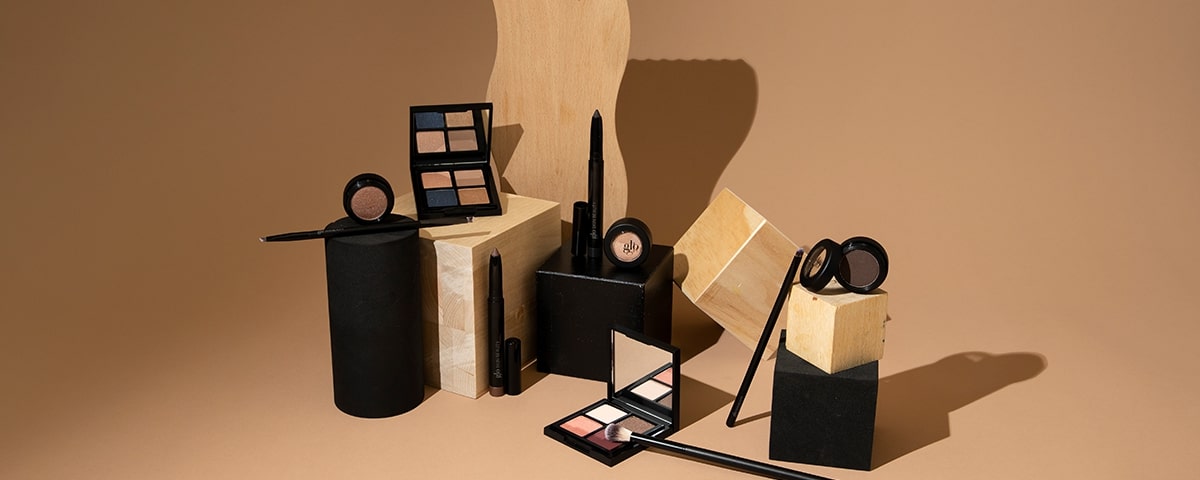
Love smokey eye makeup but need a little help brushing up on the technique? Our expert guide on how to nail smokey eye makeup will have you mastering all the different looks from classic to grungy and everything in between.
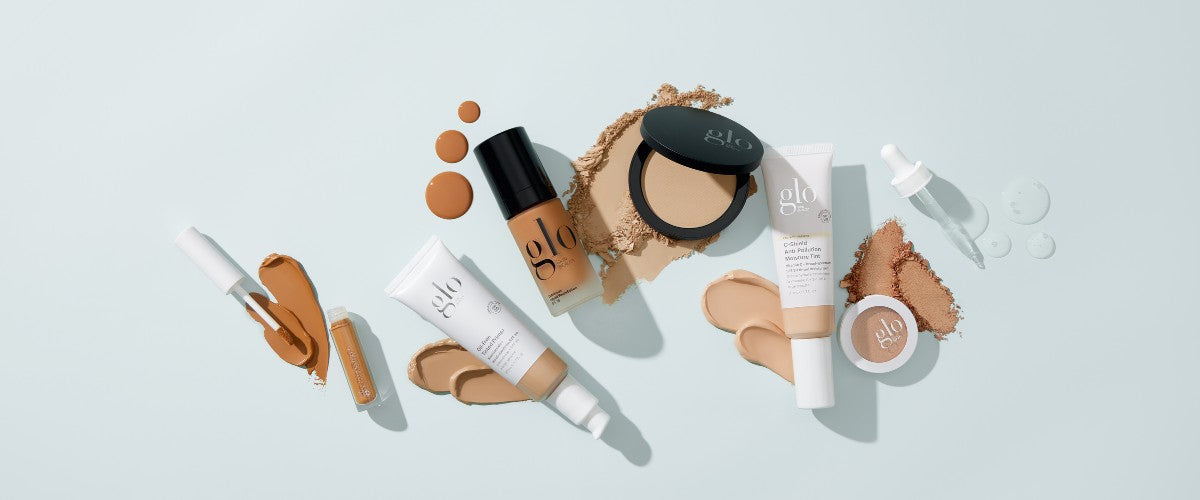
Finding the perfect foundation color match can be a tricky thing. From shades to undertones, it can be hard to know which foundation to try. To help guide you in finding your ideal color match, we’ve created this foundation color matching chart...
